XenGamer's Guide to Gutting Hiveguards: A Deep Rock Galactic Elimination Masterclass Alright, Miners!
Alright, Miners! Listen up. You think you're tough? You've faced down swarms, you've kited Praetorians, you’ve even survived a Haz 5 Salvage Operation. But the Dreadnought Hiveguard? That’s a different beast altogether. This ain't your run-of-the-mill bug hunt. The Hiveguard Elimination mission in Deep Rock Galactic demands precision, teamwork, and a whole lotta lead. If you're struggling to bring this bad boy down, then you’ve come to the right place. I'm here to lay down the stone-cold truth and give you the strategies you need to turn the Hiveguard into a pile of chitinous scrap. This guide assumes you're not a greenbeard, but a seasoned PC gamer familiar with the basics. Now grab your pickaxe, load your weapons, and let's get to work!
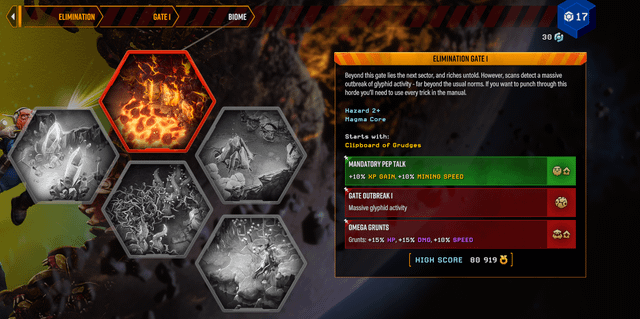
A standard Hiveguard Elimination mission features dark and foreboding caverns, which can make visibility a challenge. Effective flare usage is key.
Know Your Enemy: The Dreadnought Hiveguard
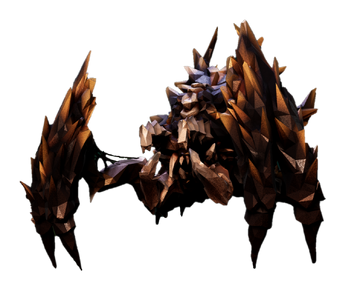
The Hiveguard is a Dreadnought variant found exclusively in Elimination missions. Unlike its brethren, the Hiveguard boasts layers of hardened armor protecting vulnerable weak points. It’s also fond of summoning Hiveguard Sentinels, annoying flying pests that can quickly overwhelm an unprepared team. This fight takes place in large, dimly lit caverns filled with glowing fungal growths, adding to the claustrophobic tension. Listen closely, you'll hear the ominous clicking of Glyphid drones – a sure sign you're in the right (or wrong) place. The key difference is the Hiveguard's segmented armor and reliance on Sentinels, requiring a completely different approach compared to the other Dreadnoughts.
Team Composition: The Dream Team
A balanced team is crucial for success. Here’s what I recommend:
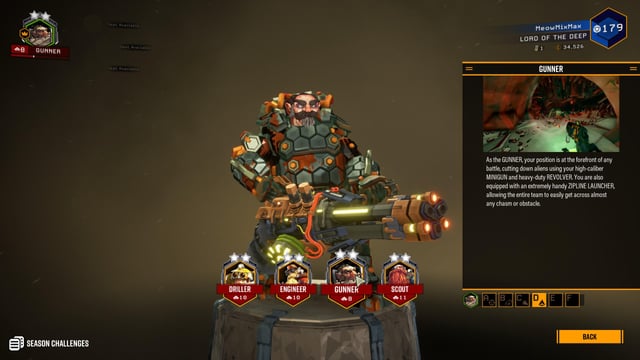
- Gunner: Your primary damage dealer.
- Loadout: "Lead Storm" minigun with high damage mods is your bread and butter. The "Bulldog" revolver with explosive rounds is essential for quickly dispatching Hiveguard Sentinels. Don't forget your shield generator – it'll be a lifesaver when things get hairy.
- Driller: Crowd control and terrain manipulation extraordinaire.
- Loadout: The Cryo Cannon is your best friend here. Freezing the Hiveguard during its vulnerable phases drastically increases your team's damage output. C4 charges are perfect for clearing Glyphid swarms and creating escape routes. Impact axes provide some much-needed burst damage against the Hiveguard's armor.
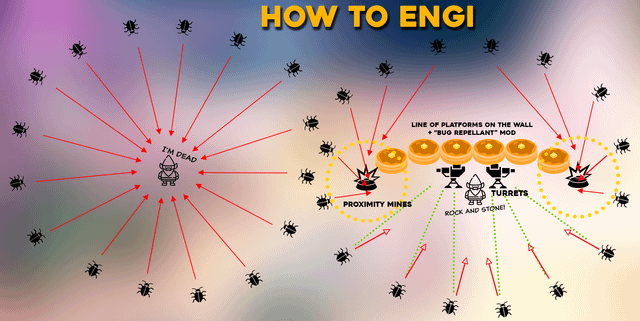
- Engineer: Turret support and platform placement master.
- Loadout: The "Smart Rifle" with homing rounds ensures consistent damage on the Hiveguard's weakpoints. Your platform gun is vital for creating elevated firing positions and blocking pathways to control the flow of enemies. Proximity mines will help keep the swarms at bay.
- Scout: The eyes and ears of the team.
- Loadout: The M1000 Classic with the "Hipster" overclock provides high-damage single shots. Your grappling hook allows for rapid traversal and strategic positioning, allowing you to light up the arena and move to safety quickly. And of course, never forget your flare gun! Constant illumination is absolutely essential.
 Effective Scout play requires maintaining constant illumination of the Hiveguard and surrounding area.
Step-by-Step Strategy: The Dance of Death
The Hiveguard fight unfolds in distinct phases:
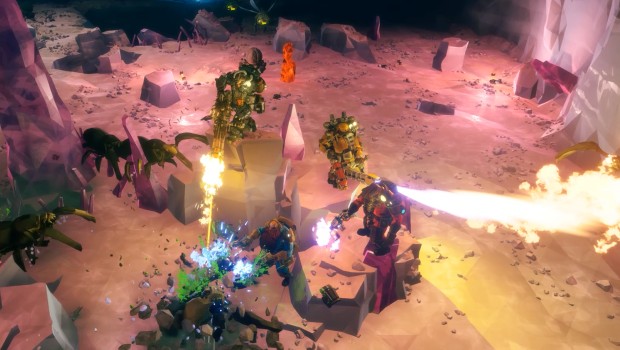
- Stage 1: Armor Plating: The Hiveguard starts with three armored segments protecting its weak points. These segments need to be destroyed before you can deal significant damage. Focus fire on these segments, prioritizing the ones closest to your team. The Driller's axes and the Gunner's sustained fire are particularly effective here. Remember to kite the Hiveguard to avoid its ground slam attack.
- Stage 2: Exposed Weak Points: Once the armor is gone, the Hiveguard exposes its glowing weak points on its sides. This is your chance to unload everything you've got! The Driller should be freezing the Hiveguard with the Cryo Cannon to maximize damage. The Gunner and Engineer should focus fire on the weak points, while the Scout keeps them illuminated.
- Stage 3: Hiveguard Sentinels: After a period of sustained damage, the Hiveguard summons a wave of Hiveguard Sentinels. These flying pests can quickly overwhelm your team if left unchecked. The Gunner with his "Bulldog" revolver and the Engineer with his "Smart Rifle" are best suited for taking them down quickly. Prioritize eliminating the Sentinels before returning to the Hiveguard.
Rinse and repeat these stages until the Hiveguard is nothing more than a smoking crater.
 The Gunner is often the main DPS dealer, focusing on the Hiveguard's weak points when they are exposed.
Tips and Tricks from a Veteran Miner
- Communication is Key: Coordinate your attacks and communicate effectively with your team. Call out when the Hiveguard is about to use its ground slam attack, and let your team know when you're freezing it.
- Freeze, Baby, Freeze: The Cryo Cannon is your best friend. Freezing the Hiveguard significantly slows its movement and increases the damage it takes.
- Don't Get Slammed: The Hiveguard's ground slam attack deals massive damage and can easily down a dwarf. Pay attention to its animations and dodge out of the way when it rears up.
- C4 is Your Friend: The Driller's C4 charges are excellent for quickly eliminating swarms of Glyphids that spawn during the encounter.
- Target Prioritization: During Stage 3, ALWAYS prioritize the Hiveguard Sentinels. They're fast, annoying, and can quickly whittle down your team's health.
- Engineer's Elevated Advantage: The Engineer's platforms are invaluable for creating strategic firing positions and kiting the Hiveguard. Use them to stay out of reach of ground-based attacks.
- Scout's Mobility: The Scout's Grappling Hook allows for quick escapes and allows you to reach strategic high points to illuminate hard-to-reach areas with your flare gun. Don't just use it to move around; use it to gain a tactical advantage.
- Ammo Management: Keep an eye on your ammo levels and call for resupplies when needed. Don't waste ammo on armored segments when you could be focusing on the exposed weak points.
 Effective teamwork is key to surviving the Hiveguard Sentinel waves.
PC-Specific Notes: Optimizing for Performance
Let's talk tech, Miners! This fight can get hectic, so here’s how to tweak your settings for peak performance:
- Particle Effects: Turn these down. Trust me. All those bug guts and explosions can tank your framerate. You need smooth gameplay, not pretty explosions, to survive.
- Mods: Consider these community-made additions:
- "Better Chat": Improves team communication, crucial for coordinating attacks.
- "Numeric Health Display": Gives you a precise view of the Hiveguard’s remaining health. Knowledge is power, Miners!
- Shadows & Ambient Occlusion: Lower these. They eat resources without significantly improving visual quality.
- Keybindings: Optimize your keybinds, especially for the Grappling Hook (Scout) and Flare Gun (Everyone). Quick reactions are essential.
 Monitoring the Hiveguard's health and swarm status is crucial for strategic decision-making.
The Spoils of War
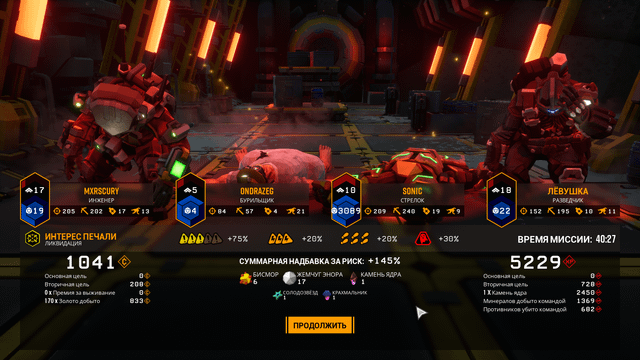
Victory against the Hiveguard yields generous rewards: experience points, valuable minerals, and the chance for cosmetic unlocks. But the real reward is the satisfaction of overcoming a challenging boss encounter through teamwork and skillful execution.
 The Dreadnought Hiveguard is a formidable foe, requiring precise teamwork and skillful execution to defeat.
Keep in mind that the difficulty scales with the Hazard level. What works on Hazard 3 might not cut it on Hazard 5. Adapt your strategies and loadouts accordingly.
 The Engineer's platforms provide a significant tactical advantage, allowing the team to kite the Hiveguard and avoid ground-based attacks.
And then, finally, the moment of triumph. The Hiveguard explodes in a shower of chitinous fragments and valuable minerals. You and your team have conquered a truly challenging foe. Bask in the glory, Miners, you've earned it!
 The Engineer's weapon choice can ensure consistent damage on the Hiveguard's weakpoints.
Conclusion: Rock and Stone!
The Dreadnought Hiveguard is a tough nut to crack, but with the right strategy, team composition, and a healthy dose of Dwarven determination, you can conquer this beast. Remember to communicate, prioritize targets, and optimize your PC settings for peak performance. Now get out there, Miners, and show those bugs what you're made of! Rock and Stone!
 The Driller's C4 is invaluable for quickly clearing waves of enemies during the Hiveguard fight.