Setting Up a GTA V Role-Playing Server with GTMP: A Comprehensive Guide Ready to transform your Grand Theft Auto V (PC version) experience into a thriving role-playing hub?
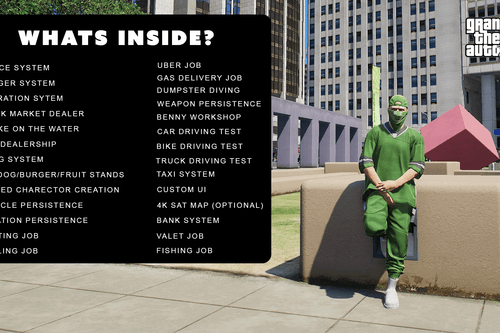
Ready to transform your Grand Theft Auto V (PC version) experience into a thriving role-playing hub? This guide is your one-stop shop for setting up your own GTA V role-playing server using Grand Theft Multiplayer (GTMP). We'll dive deep into installing GTMP, configuring your server, adding essential script mods like vMenu and LS Life, and troubleshooting common problems. We'll focus specifically on the server-side setup and the mods needed to create a functional and engaging role-playing environment, allowing players to build virtual lives in your virtual world. Let's build a living, breathing city together. Get ready to become the architect of your own digital metropolis!
Requirements for Your GTMP Role-Playing Server
Before we jump into the nuts and bolts, let's ensure you have everything you need to get your GTMP server up and running. Here's a checklist:
- Grand Theft Auto V (PC version) - A legitimately purchased copy is essential. No pirated copies allowed here!
- Grand Theft Multiplayer (GTMP) Server Files - Get the latest version directly from the official GTMP website. Make sure it's the server files, not the client.
- vMenu - Download the latest version from GitHub. This is your god-mode admin tool and provides crucial role-playing features.
- Luxart Vehicle Control - Latest version from GitHub. This adds realistic vehicle interactions that everyone will appreciate.
- LS Life Scripts - Find an actively maintained version specifically designed for GTMP servers on GTMP forums or similar sites. LS Life version 2.5 is recommended for GTMP.
- A text editor (e.g., Notepad++, VS Code, Sublime Text) - for tweaking configuration files.
- Basic understanding of server administration and networking.
- A dedicated server or a powerful PC to host the GTMP server. The more players you want, the more horsepower you'll need.
Step-by-Step Instructions: Building Your RP World
Alright, let's get our hands dirty and start building our role-playing world, one step at a time!
1. Installing Grand Theft Multiplayer (GTMP): The Foundation
First, we need to lay the foundation of our server: Grand Theft Multiplayer.
- Download the latest GTMP server files from the official GTMP website. Double-check you're downloading the server files.
- Extract the contents of the downloaded archive to a dedicated folder on your server (e.g.,
C:\GTMP Server). Keep this folder organized! - Configure the
server.cfgfile located in the GTMP server directory. This file is the brain of your server, controlling everything from the server name to player slots. Use your text editor to modify these settings.
Here's an example of a server.cfg file with key parameters highlighted:
This image shows what a server.cfg file in VS Code looks like. Take note of the server name, max players and resource folder path settings.
2. Configuring the GTMP Server: Making it Your Own
Now that GTMP is installed, let's configure it to your liking.
- Set up the resource folder within your GTMP server directory (e.g.,
C:\GTMP Server\resources). This is where all your script mods will live. Keep it tidy! - Register your server with the GTMP master server. Follow the instructions on the GTMP website to make your server visible to the world.
- Forward the necessary ports on your router to allow players to connect to your server. The default GTMP port is 7777. Don't forget to check your firewall!
3. Installing vMenu: God-Mode Activated
vMenu is your Swiss Army knife for server administration and adds essential role-playing features.
- Download the latest version of vMenu from GitHub.
- Extract the contents of the downloaded archive into a new folder within your
resourcesfolder (e.g.,C:\GTMP Server\resources\vMenu). - Add
vMenuto theresources.cfgfile in your GTMP server directory to enable it. Think of vMenu as the admin tool for the gods of your server, controlling everything with a few clicks. To enable vMenu, addstart vMenutoresources.cfg
4. Installing Luxart Vehicle Control: Realism on Wheels
Luxart Vehicle Control adds a layer of realism to vehicle interactions that will enhance your role-playing experience.
- Download the latest version of Luxart Vehicle Control from GitHub.
- Extract the contents of the downloaded archive into a new folder within your
resourcesfolder (e.g.,C:\GTMP Server\resources\luxart). - Add
luxartto theresources.cfgfile in your GTMP server directory to enable it. This will add realistic vehicle interactions. To enable Luxart addstart luxarttoresources.cfg. Make sure to set up the vehicle controls correctly by testing it with a vehicle in-game. The default key to activate Luxart vehicle control is "J".
5. Installing LS Life Scripts: Building Virtual Lives
LS Life scripts are the backbone of your role-playing environment, providing jobs, properties, and an economic system.
- Find an actively maintained version of LS Life scripts designed for GTMP servers on GTMP forums or similar websites. Ensure the scripts are compatible with your version of GTMP. Use LS Life Version 2.5 for GTMP.
- Extract the contents of the downloaded archive into a new folder within your
resourcesfolder (e.g.,C:\GTMP Server\resources\lslife). - Add
lslife(or the specific folder name of the LS Life scripts) to theresources.cfgfile in your GTMP server directory to enable it. This will add essential role-playing elements like jobs, properties, and economic systems. Imagine players building their virtual lives within your server, thanks to these scripts. To enable LS Life addstart lslifetoresources.cfg
6. Configuring Script Mods: Fine-Tuning Your World
Now that we have our core script mods installed, it's time to configure them to fit your server's vision.
- Each script mod will have its own configuration files. These files allow you to customize the mod's behavior to fit your server's needs. Refer to each mod's documentation for instructions on configuring it. Edit configuration files within the respective mod folders inside the
resourcesfolder. For instance, configure jobs, prices, and available vehicles within each script mod’s configuration file. The LS Life config file is named "config.lua". - Set up the database connection for LS Life or similar scripts. Most role-playing scripts require a database to store player data. Configure the database settings in the script's configuration file. Create a MySQL database named "gtmp_rp" to enable this feature. Ensure you use the following database credentials: Host = "localhost", Username = "gtmpuser", Password = "gtmpPassword".
- Secure your GTMP server by implementing appropriate security measures. This includes setting a strong server password, implementing anti-cheat measures, and regularly updating your server files. Change the default GTMP administrator password.
Here's an example of the GTMP server starting up and loading the installed mods:
This shows the console output displaying the mods being loaded. Note the server version 0.3.541.
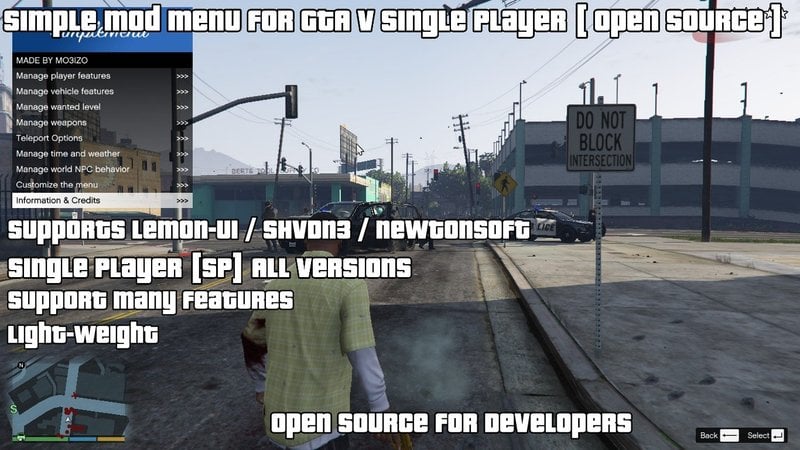
Here is an example of vMenu in action, demonstrating how a server admin can manage players:

This screenshot demonstrates some of vMenu's functionality.
Here's Luxart Vehicle Control in action:
This shows an "Adder" supercar, modified with Luxart, showing the hood open and hazard lights flashing.
And here's an example of LS Life scripts in action, with a player working as a taxi driver:
This demonstrates the LS Life taxi driver interface.
Troubleshooting: Fixing the Bumps in the Road
Even the best-laid plans can hit a snag. Here's how to troubleshoot common GTMP server issues:
GTMP Server Not Starting: Check the GTMP server log file for error messages. This file can be found in the GTMP server directory and is named "server.log". Verify that all required dependencies are installed and that the
server.cfgfile is configured correctly. Ensure no other program is using the port 7777. An error message in the log file may look like:Error: Could not bind to port 7777.Players Cannot Connect: Ensure that the necessary ports are forwarded on your router and that your firewall is not blocking connections to the server. Verify that the server is registered with the GTMP master server. Confirm the client and server are using the same version of GTMP. A common error is "Connection Refused".
Script Mods Not Working: Verify that the script mods are correctly installed in the
resourcesfolder and that they are added to theresources.cfgfile. Check the script mod's documentation for any required dependencies or configuration settings. Check the GTMP server console for any error messages related to the script mod. A script mod that doesn't start will create a console outputFailed to load resource [resource name]Database Connection Errors: Verify that the database server is running and that the database settings in the script's configuration file are correct. Ensure that the database user has the necessary permissions to access the database. In the LS Life config, the database settings are under the "database" section, make sure they are accurate.
Extra Tips: Level Up Your Server
Want to take your GTMP server to the next level? Here are some extra tips and tricks:
Developing Custom Script Mods (Advanced): With knowledge of C# and the GTMP API, you can develop your own custom script mods to add unique features to your server. Refer to the GTMP documentation for examples and tutorials. You can add custom jobs, properties and gameplay elements. A good starting point is the GTMP "BasicResource" example.
GTMP Forums and Discord: The GTMP forums and Discord server are invaluable resources for finding help, sharing your work, and connecting with other GTMP server owners and developers. Join the community to learn from the others. The GTMP Discord can be found at gtmp.net/discord
Custom Server Content: Enhance your server with custom vehicles, maps, and textures. These can be added to your
resourcesfolder and loaded by the server. Use OpenIV to install custom vehicle models.Testing Script Mods: Thoroughly test all script mods before deploying them to your live server. This will help to prevent crashes and other issues. Setup a testing server, separate from your main server. Create a separate test GTMP installation on your computer.
Regular Backups: Regularly back up your GTMP server files and database. This will protect your server from data loss in the event of a crash or other issue. Schedule daily backups, preferably automatic ones. Use a script to automatically backup your server files to a separate drive.
Visualizing Script Mods Interacting: When Things Go Hilariously Wrong
Ever wonder what happens when script mods collide in unexpected ways?
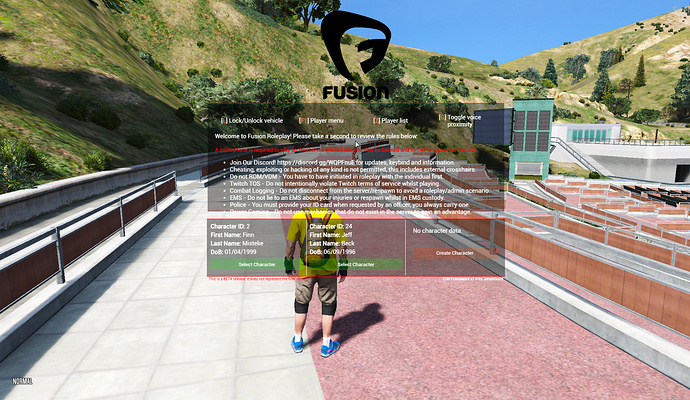
This illustrates the chaos that can ensue when script mods interact unexpectedly.
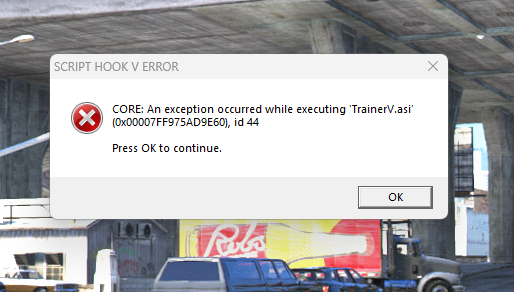
Common Errors with Script Hook V
- Crashing with Rage Plugin Hook

- DLL Error

- Failure to Load

- Mod Menu Issues

Conclusion: Your RP Adventure Awaits
Congratulations! You've now got the knowledge to set up your own GTA V role-playing server using GTMP. The road to a vibrant and thriving community may have a few bumps, but with this guide and a little perseverance, you'll be well on your way. Now go forth, create, and let the role-playing adventures begin!
Ready to share your epic GTMP server? Head over to the XenGamer.com forums and show off your creation.