Retro Revival: Build a Silent, 1080p-1440p Upscaling Emulation Station for Under $600 Welcome to XenGamer.

Welcome to XenGamer.com! Are you ready to relive the glory days of gaming without the noise and pixelated mess? This guide walks you through building a silent emulation PC build dedicated to upscaling classic console games. Revisit your favorite NES, SNES, Genesis, PS1, and N64 titles in crisp 1080p or even 1440p, all while enjoying near-silent operation. This best PC for retro games emulation balances cost, performance, and quietness for the ultimate retro gaming experience. This budget emulation PC will be the envy of all your retro-loving friends.
Purpose of This Silent Retro Gaming PC Guide
This build focuses exclusively on emulation, targeting smooth performance for retro consoles up to the N64 and early PS1 era. It’s designed for gamers who want to revisit classic games on modern displays with enhanced visuals and minimal noise. We'll show you how to build a silent retro gaming PC guide that’s both powerful and quiet. Forget the noisy fans and blurry graphics – it's time to upgrade your retro gaming setup.
Core Components: The Heart of Our Emulation Station
Here’s a breakdown of the essential components we’ll be using for our 1080p emulation station build. This configuration balances performance, cost, and noise levels perfectly.
CPU: AMD Ryzen 5 5600G ($130) – This APU (Accelerated Processing Unit) features integrated Radeon graphics, providing excellent emulation performance without needing a dedicated GPU. Its price/performance ratio is ideal for this build.
RAM: 16GB (2x8GB) DDR4 3200MHz Crucial Ballistix ($45) – Sufficient memory for emulators and smooth multitasking. The low profile design ensures compatibility with coolers.
Motherboard: MSI B450M Mortar Max ($80) – A reliable micro-ATX board with essential features and good compatibility.
Storage: 500GB NVMe SSD Western Digital Blue SN570 ($40) (for OS and emulators), 2TB HDD Seagate Barracuda ($60) (for ROM storage). The SSD ensures fast boot times and emulator loading, while the HDD provides ample space for a large ROM library.
PSU: Corsair CX450M (450W 80+ Bronze) ($50) – A reliable, efficient PSU that provides ample power for this low-power build.
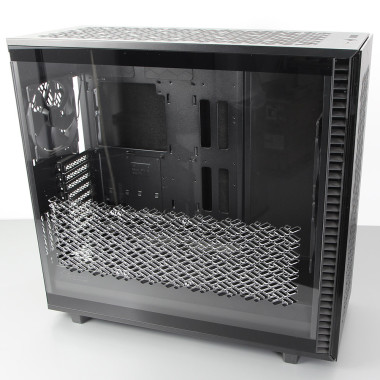
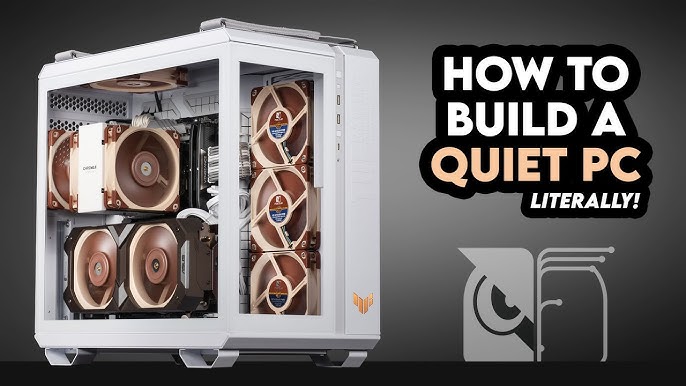
Case: Fractal Design Node 304 ($90) – A stylish, compact mini-ITX case with excellent airflow and noise dampening. Perfect for a living room setup.
Optional Add-ons for Enhanced Emulation
While the core components provide a great experience, these optional add-ons will take your emulation station to the next level:
CPU Cooler: Noctua NH-L9a-AM4 ($50) – Low-profile cooler for silent operation and improved cooling performance compared to the stock cooler.
Controller: 8BitDo Pro 2 ($50) – Bluetooth controller with excellent retro feel and customization options.
Monitor: Any 1080p or 1440p IPS display. We recommend a 27" 1440p display for optimal visual experience (e.g., Dell S2721D).
Performance Expectations: What Can You Emulate?
This build can handle most retro consoles (NES, SNES, Genesis, PS1, N64) at upscaled resolutions (1080p-1440p) with smooth frame rates. Let’s break down specific performance:
- SNES: Runs flawlessly at 1440p with xBRZ or HQ4x filters.
- PS1: Emulates well with increased internal resolution and texture filtering using DuckStation or RetroArch's PCSX-HW core.
- N64: Achieves playable frame rates in most titles using RetroArch’s ParaLLEl N64 core.
Cost/Value Analysis: Is This Build Worth It?
At around $600, this emulation PC build guide under $600 offers excellent value for a dedicated emulation station. The Ryzen 5 5600G provides sufficient power for emulation without requiring a dedicated GPU, saving on costs.
Alternatives for the Frugal Gamer
- If the budget allows, consider a Ryzen 5 5700G for slightly better integrated graphics performance. You will see better performance for your 1440p retro emulator setup.
Tips and Tricks for Your Silent Emulation PC
Here are some helpful tips to consider for your quiet emulation PC build:
- Upgrade Paths: Easily upgrade to a dedicated GPU for PC gaming later.
- Compatibility: Ensure the RAM is on the motherboard's QVL list for optimal performance.
- Pitfalls: Manage temperatures by ensuring good airflow within the compact case. Consider undervolting the CPU for even quieter operation.
Software Setup: Bringing Your Emulation Station to Life
Now, let’s dive into the software side of things. This is where you’ll transform your PC into a retro gaming powerhouse.
- Install Windows 10/11.
- Download and install RetroArch: RetroArch for a unified emulation platform.
- Configure RetroArch: Download cores (emulators) for each console (e.g., snes9x for SNES, PCSX-HW for PS1, ParaLLEl N64 for N64).
- Setup ROM Directories: Organize your ROMs into separate folders for each console. Remember to obtain ROMs legally!
- Controller Configuration: Map the 8BitDo Pro 2 in RetroArch settings.
- Install Fan Control software (e.g., Fan Control) to customize fan curves for silent operation.
- Configure emulators: Adjust internal resolution, texture filtering, and other settings for optimal visual quality. Experiment with shaders for a retro aesthetic.
- Customize the UI: Set up custom themes in RetroArch (or EmulationStation) to create a visually appealing retro gaming interface.
Assembling Your Silent Powerhouse
Here's the fun part! Getting hands-on with the build.

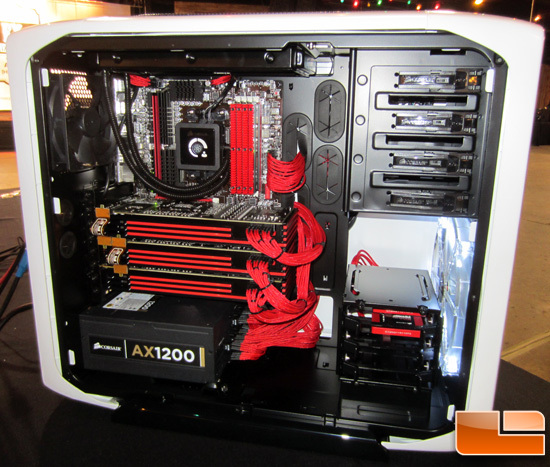
While a complete build guide is beyond the scope of this article, remember these key tips:
- Static Awareness: Ground yourself to avoid static discharge.
- Cable Management: Take your time and plan your cable routing for optimal airflow.
- Thermal Paste: Apply thermal paste correctly for optimal CPU cooling.
NES SNES Emulator PC Build: Reliving the Classics
This build isn't just about the technical aspects; it's about reliving the golden age of gaming. Imagine playing classics like Super Mario World or The Legend of Zelda with enhanced visuals and without any distracting noise. This silent emulation PC build makes it all possible.
Quiet Emulation Build: A Raspberry Pi Alternative?
While Raspberry Pi devices are popular for emulation, this PC build offers significantly more processing power and storage. This makes it a much better choice for upscaling and handling more demanding emulators. This is the best quiet emulation build when you need more performance than a Raspberry Pi can provide.
Is Emulation Legal? A Quick Note
Emulation itself is legal. However, downloading and playing ROMs of games you don't own is generally considered copyright infringement. Be sure to only use ROMs of games you own or that are in the public domain.
Conclusion: Your Silent Retro Gaming Journey Begins Now
Building a silent emulation PC is a rewarding experience that brings classic games to life with enhanced visuals and minimal noise. This guide provides a solid foundation for building a retro gaming upscaling PC under $600. Now it’s time to gather your components, follow the steps, and start reliving your favorite retro games. What are you waiting for?
Have you ever built an emulation PC? Let us know in the comments below and share your experiences.
