Dominate Baron Nashor with Thresh: An Advanced Warding Guide Vision is power, especially in the late game of League of Legends.

Vision is power, especially in the late game of League of Legends. As Thresh, the Chain Warden, your ability to control vision around Baron Nashor after the 30-minute mark can be the difference between a nail-biting victory and a devastating defeat. This guide, brought to you by XenGamer.com, will equip you with the advanced knowledge and actionable strategies you need to maximize your impact as a support player and carry your team to victory. We'll cover warding spots, ability usage, and even PC optimization tips to give you the edge. Let’s dive in and learn how to efficiently ward Baron as Thresh.
Pre-Baron Spawn (30:00 - 35:00): Establishing River Control
Before Baron even spawns, it's crucial to lay the groundwork for vision dominance. Your primary objective is to control the river area near the enemy jungle entrance. This allows you to track the enemy jungler's movements and anticipate potential rotations towards Baron.
Here's where to place your Control Ward and regular wards:
- Control Ward: Place this in the river bush closest to the enemy's red buff. This provides excellent coverage of the jungle entrance and denies vision in a key area.
- Deep Ward (Enemy Red Buff Bush): A deep ward inside the enemy's red buff bush gives you crucial information about the enemy jungler's location and pathing. This early warning can prevent surprise ganks and allows you to react accordingly.
- Tri-Bush Ward: Placing a ward in the tri-bush near mid lane gives you vision of rotations from mid lane towards Baron.
During Baron Fight Preparation: Deep Warding and Tracking Rotations
As the timer ticks closer to the Baron Nashor spawn, the stakes rise. Your warding strategy needs to become more aggressive, focusing on deep wards within the enemy jungle. The goal here is to track enemy rotations and anticipate their movements towards the Baron pit.
Here's a step-by-step approach:
- Identify Key Rotation Paths: Analyze the enemy team composition and their typical playstyle. Where are they likely to come from? Mid lane? Their jungle?
- Establish Deep Vision: Use your Sightstone charges and Control Wards to establish vision along these key rotation paths.
- Prioritize High-Traffic Areas: Focus on areas where enemies are likely to pass through, such as jungle entrances, chokepoints, and commonly used paths.
- Adapt to Enemy Movements: As the enemy team moves, adjust your ward placement accordingly. If they're grouping mid, ward the river and the entrances to their jungle. If they're splitting, focus on warding the flanks.
- Optimal Thresh Warding Spots Baron:
- Blue Buff Bush (Enemy Side): Provides deep vision and allows you to track the enemy jungler's movements.
- Raptor Camp Bush (Enemy Side): Catches rotations from mid lane and the enemy base.
- Pixel Brush (River): Offers vision of both the river and the entrance to the Baron pit.
- Warding strategy after Baron spawn: It allows you to control vision on the key objectives for your team.
Post-Baron Take: Securing Vision for Objective Control
Congratulations, you've secured Baron Nashor! But the fight isn't over. Now is the time to capitalize on your advantage by securing vision around key objectives and preventing the enemy team from contesting your push.
- Secure Objective Vision: Place wards around towers, inhibitors, and other objectives that you're planning to push. This will give you early warning of any enemy attempts to defend.
- Deny Enemy Vision: Use Control Wards and sweepers to clear out any enemy wards in the area. This will prevent them from gaining information about your movements.
- Protect Your Flanks: Place wards in the jungle to protect your flanks and prevent the enemy team from flanking you during your push.
- Maintain Vision Control: Continuously refresh your wards and adapt your warding strategy as the game progresses.
- Deep wards for vision, defensive wards for escape, and aggressive wards for objective control.
Thresh, the Visionary: Advanced Tactics & Tips
Beyond basic ward placement, Thresh's kit offers unique opportunities to control vision and outsmart your opponents.
Thresh Flay Ward Denial Baron
Thresh's Flay (E) isn't just for engaging and disengaging; it's also a powerful tool for denying enemy vision. If you suspect an enemy ward is placed in a bush, use Flay to displace it, revealing it for your team to destroy. This is especially effective in the river bushes around Baron. This ensures you know that the area is safe before approaching.
Thresh Ward Baiting Baron
Use Dark Passage (W) to bait enemies into traps. Place a ward in a seemingly vulnerable location, then use your lantern to pull a teammate into the area. The enemy, thinking they have an easy kill, will walk into your trap, giving you a significant advantage.
Common Mistakes to Avoid
- Overextending for Wards: Don't risk your life for a ward, especially in the late game. The cost of dying is far greater than the benefit of a single ward.
- Neglecting Approach Paths: Focus on warding the paths leading to Baron, not just the pit itself. This will give you more time to react to enemy movements.
- Predictable Placement: Vary your ward placement to avoid becoming predictable. If you always ward the same spot, the enemy will quickly learn to counter your vision.

Ability Warding Techniques Baron
Thresh is unique in that his abilities interact directly with warding. Here's how to maximize your impact using your abilities:
- Dark Passage (W): As mentioned, use Dark Passage to pull teammates to strategic ward locations quickly, ensuring they can safely place deep wards or clear enemy vision.
- Death Sentence (Q): While primarily an engage tool, a well-placed Death Sentence can zone enemies away from warding spots, allowing you to secure vision without contest. Hooking a key target near a warding location can open up an opportunity for your team to quickly establish vision control.
- Thresh ward baiting baron: This can lead to easy picks on the enemy team for your team.
PC-Specific Notes: Optimize for Performance
To maximize your warding efficiency, you need to optimize your PC settings for League of Legends.
Keybind Optimization
Quick reactions are crucial for warding. Remap your keybinds for optimal speed and precision:
- Death Sentence (Q): 'Q'
- Dark Passage (W): 'E'
- Flay (E): 'Side Mouse Button 1'
- The Box (R): 'R'
This setup allows you to quickly access Flay with your thumb, enabling rapid ward denial and defensive maneuvers. Placing Dark Passage on 'E' is unusual, but it moves the most important non-ultimate ability for warding to a more easily accessible key for quick lantern placements for deep wards.

Input Delay Minimization
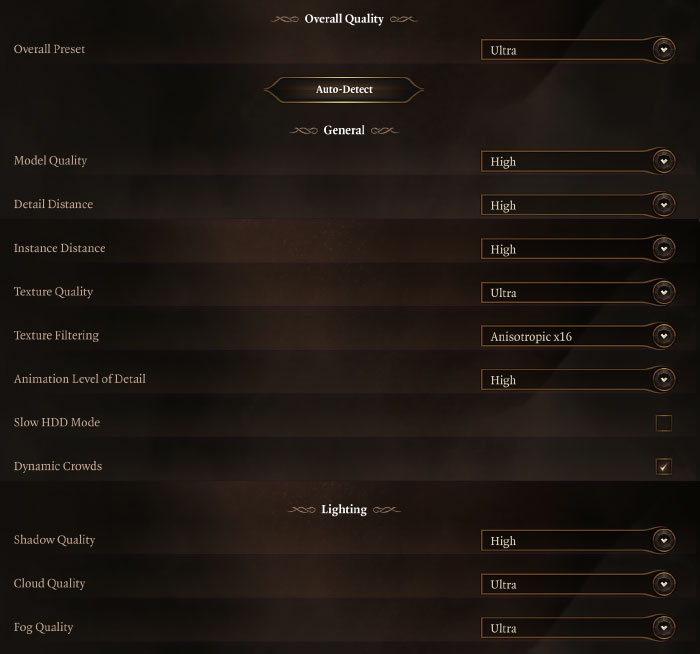
Reduce input delay to ensure your actions are executed instantly. Disable unnecessary graphical settings:
- Environment Quality: Low
- Effects Quality: Low
- Shadows: Low
These settings significantly reduce the load on your graphics card, minimizing input delay and improving responsiveness. High ping can ruin even the best warding strategy. Ensure you have a stable internet connection and check your ping regularly within the game. Consider closing unnecessary background applications to free up bandwidth.
Best PC Settings for Thresh Warding
Prioritizing responsiveness is critical. Reducing visual clutter ensures clarity and faster reaction times.
- Disable Screen Shake: Minimizes distractions during chaotic team fights.
- Turn off anti-aliasing: This can reduce the quality, but provides better performance.
- Lower Texture Quality: This improves performance.
Maximizing Vision Score on Thresh at Baron
A high Vision Score is a direct indicator of your impact on the game, reflecting how effectively you're warding and denying enemy vision. Actively placing wards, clearing enemy wards, and contributing to your team's overall map awareness are the keys to boosting your Vision Score. Here are ways to increase your vision score:
- Placing wards in high traffic areas where enemies are likely to pass.
- Using control wards to disable enemy vision in key locations.
- Denying enemy wards with sweepers or abilities.
Why is vision control so important for winning late game on Thresh?
- Objective Control: Knowing when to take objectives is much easier with vision.
- Map Awareness: You can see where the enemy team is.
- Flanking Potential: The enemy team will be unable to flank your carries if you place wards at key locations.

Setting up vision for Baron steal with Thresh
- Deep ward the enemy jungle: You can see when the enemy team leaves the Baron pit.
- Place a control ward in the Baron pit: Allows you to see enemy wards placed by the enemy team.
- Use the lantern for a quick escape: If the steal is unsuccessful, you can use the lantern to pull your teammate to safety.
Conclusion: The Chain Warden's Vision
Mastering advanced warding techniques around Baron Nashor as Thresh unlocks unparalleled map control, facilitates better objective control, and significantly boosts your win rate. By implementing these strategies, optimizing your PC settings, and practicing consistently, you'll elevate your game and become a true asset to your team. You'll become the support player who doesn't just support, but actively carries games through superior vision control. So, chain those wards, dominate the map, and lead your team to victory! For more expert League of Legends guides and tips, stay tuned to XenGamer.com! You will dominate your games with this guide.