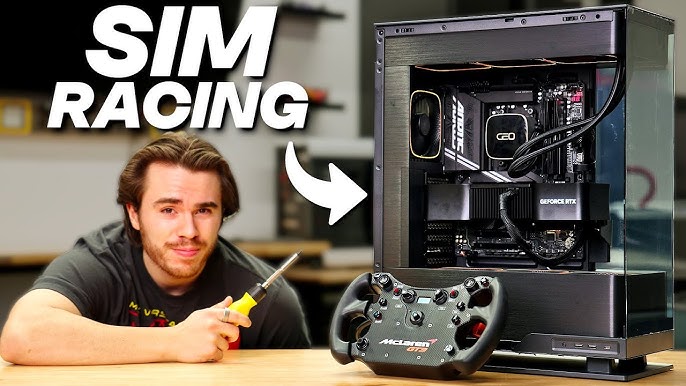
DIY VR Sim Racing Rig: Building the Ultimate Assetto Corsa Competizione, iRacing, and F1 23 VR Powerhouse Ready to take your sim racing experience to the next level?
Ready to take your sim racing experience to the next level? This guide is your definitive blueprint for building a DIY VR sim racing rig that delivers unparalleled immersion and competitive edge in Assetto Corsa Competizione, iRacing, and F1 23. We're talking smooth, high-fidelity VR at 90Hz or higher, stunning graphics, and seamless integration of DIY controls directly onto your PC chassis. Buckle up, because we're diving deep into the world of PC building and sim racing optimization, all while keeping cost-effectiveness in mind.
The Vision: 1440p Per Eye, 90Hz VR Domination
Our goal is simple: to create a VR sim racing experience so immersive and responsive, it blurs the line between reality and the digital track. We're targeting a crisp 1440p resolution per eye (or the equivalent for your chosen VR headset), a rock-solid 90Hz (or higher) refresh rate, and visually impressive graphics settings. This rig will be optimized for ultra-low latency, ensuring every steering input, throttle application, and braking maneuver translates instantly into the virtual world. We'll also build an integrated control panel directly into the PC chassis.
Core Components: The Heart of Your VR Racing Machine
Let's break down the essential components that will power your VR sim racing dreams.
CPU: AMD Ryzen 5 7600X - The Single-Core Champion
The AMD Ryzen 5 7600X is the brains of our operation. Its exceptional single-core performance is crucial for VR, ensuring smooth frame rates and minimal latency. Plus, the AM5 platform offers future upgrade potential.
GPU: NVIDIA GeForce RTX 3070 8GB - The VR Sweet Spot
The NVIDIA GeForce RTX 3070 8GB strikes the perfect balance between performance and price for VR sim racing. It's capable of delivering visually stunning graphics at our target resolution and refresh rate without breaking the bank.
RAM: 32GB DDR5-5600 CL36 - Memory to Spare
32GB (2x16GB) of DDR5-5600 CL36 Corsair Vengeance LPX RAM ensures seamless multitasking and eliminates memory bottlenecks. The low-profile design maximizes compatibility with larger CPU coolers.
Motherboard: MSI B650M Mortar WIFI - The Solid Foundation
The MSI B650M Mortar WIFI is a micro-ATX motherboard with rock-solid VRMs, generous connectivity, and integrated WIFI. It's a perfect match for the Ryzen 5 7600X.
Storage: 1TB NVMe PCIe 4.0 SSD - Lightning Fast Loading
A 1TB NVMe PCIe 4.0 SSD (Samsung 980 Pro recommended) is essential for quick loading times and smooth VR performance.
PSU: 750W 80+ Gold Certified - Powering Your Dreams
A 750W 80+ Gold certified PSU (Corsair RM750x or Seasonic FOCUS GX-750) provides ample headroom and stable power delivery.
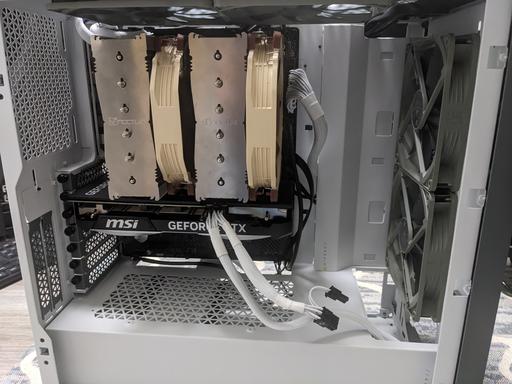
Case: Fractal Design Meshify 2 Compact - The Modding Canvas
The Fractal Design Meshify 2 Compact is our case of choice for its exceptional airflow and easy-to-modify front panel, ideal for mounting sim racing controls.
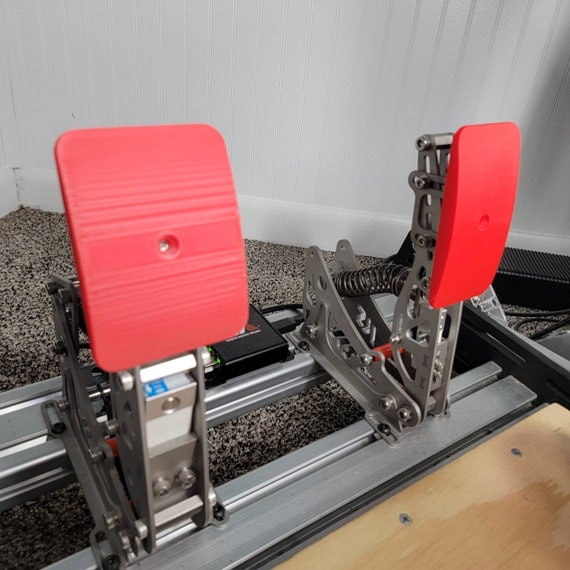
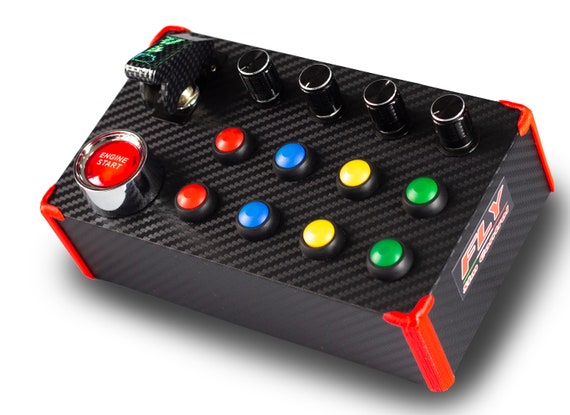
DIY Panel Components: Your Custom Control Center
For the DIY panel, gather readily available and cost-effective components:
- Momentary push buttons (red, green, black)
- Robust rotary encoders (with detents preferred)
- Reliable toggle switches (on-off, on-on)
- Versatile USB joystick controller board
Assembling the VR Sim Racing Powerhouse
This section covers the essential assembly steps for your new PC.
- Install the CPU: Carefully install the Ryzen 5 7600X into the AM5 socket on the MSI B650M Mortar WIFI motherboard. Ensure it is properly seated and secured.
- Install RAM: Insert the Corsair Vengeance LPX DDR5 RAM modules into the appropriate slots on the motherboard. Refer to the motherboard manual for the correct configuration (usually slots A2 and B2 for dual-channel).
- Install the NVMe SSD: Mount the Samsung 980 Pro (or your chosen NVMe SSD) into the M.2 slot on the motherboard. Secure it with the provided screw.
- Mount the CPU Cooler: Install the Noctua NH-U12S Redux CPU cooler (or similar) onto the CPU. Ensure proper contact with the CPU surface and secure it according to the cooler's instructions.
- Install the Motherboard in the Case: Carefully place the motherboard into the Fractal Design Meshify 2 Compact case, aligning the standoffs. Secure the motherboard with screws.
- Install the GPU: Insert the NVIDIA GeForce RTX 3070 into the PCIe slot on the motherboard. Ensure it clicks into place.
- Connect the PSU: Place the Corsair RM750x (or Seasonic FOCUS GX-750) in the PSU bay and connect the necessary power cables to the motherboard, GPU, and SSD.
- Cable Management: Neatly route and manage the cables inside the case to ensure optimal airflow. Use zip ties or cable sleeves to keep everything organized.
- Install Windows: Install your prefered operating system.
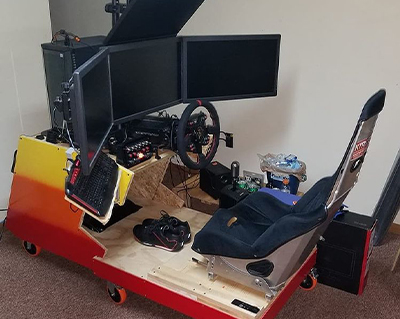
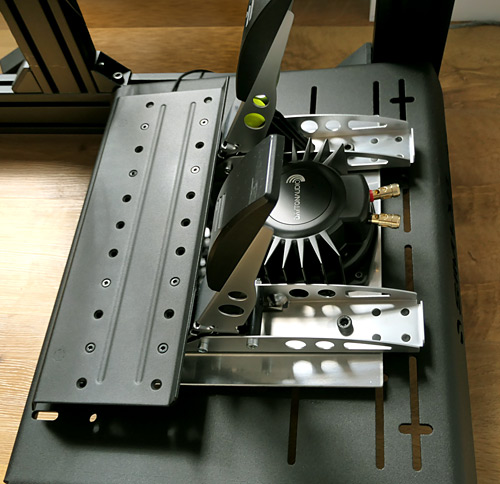
Integrating DIY Controls: Taking Command
This is where things get really interesting. We're going to mount our custom button box directly onto the Fractal Design Meshify 2 Compact's front panel.
- Plan Your Layout: Carefully plan the layout of your buttons, encoders, and switches on the front panel. Consider ergonomics and accessibility.
- Drill and Modify: Use a drill and appropriate hole saws to create openings for your controls on the Meshify 2 Compact's front panel. Measure twice, drill once!
- Mount the Controls: Securely mount your buttons, encoders, and switches into the drilled holes.
- Wire the Controls: Connect the controls to the USB joystick controller board. Ensure proper wiring and connections.
Optional Add-ons: Elevating the Immersion
Here's where you can really dial up the realism and immersion.
- CPU Cooler: Noctua NH-U12S Redux (or similar high-performance air cooler)
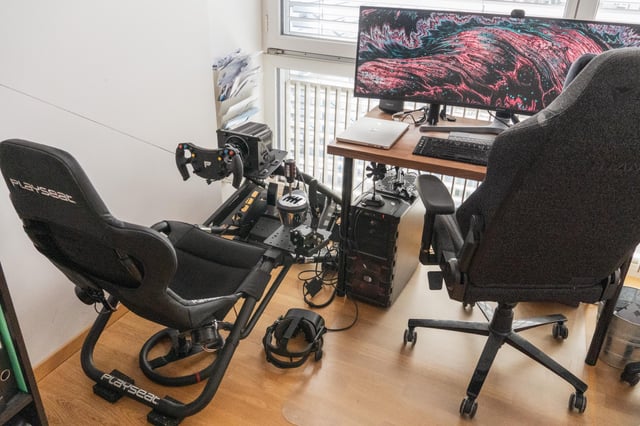
- Wheelbase: Fanatec CSL DD. Fanatec
- Pedals: Heusinkveld Sprint. Heusinkveld
- VR Headset: HP Reverb G2. HP
- Accessories: Buttkicker Gamer2, Sim Racing Studio wind simulator, powered USB hub, cable management sleeves.
VR Sim Racing Performance: Taming the Beast
Now, let's optimize our system for peak VR performance in our target games.
Assetto Corsa Competizione
Expect to run the game at mostly high settings in VR at a stable 90Hz (or higher) with minor compromises.
- Graphics Settings to Adjust: Shadow Quality, Post-Processing Effects
- Expected Performance Gains: Significant improvements in frame rate and smoothness.
iRacing
This title should run very smoothly at high settings in VR at a consistent 90Hz (or higher).
- Graphics Settings to Adjust: Shadow Maps, Object Detail
- Expected Performance Gains: Consistent frame rate, particularly during intense multi-car races.
F1 23
Expect to run the game at medium-high settings in VR at a target of 90Hz (or higher).
- Graphics Settings to Adjust: Crowd Density, Shadow Resolution
- Expected Performance Gains: Higher refresh rates, especially at the start of races.
90Hz VR Sim Racing Rig: The Smoothness Standard
Aiming for 90Hz or higher in VR is crucial for a comfortable and immersive experience. Lower refresh rates can lead to motion sickness and a less responsive feel. Our chosen components are carefully selected to achieve this target.
VR Specific Tips: Fine Tuning for Optimal Immersion
- Ensure your VR headset is properly configured and calibrated within the corresponding software (e.g., SteamVR).
- Thoroughly optimize SteamVR settings specifically for your headset and each individual game. Experiment with different render resolutions, supersampling, and motion smoothing settings to find the perfect balance of visual fidelity and smooth performance.
- Don't hesitate to experiment with different graphics settings within each game to discover the optimal balance between visual quality and responsive performance.
- Utilize a frame-time monitoring tool (such as those built into the games themselves or third-party utilities) to identify any potential bottlenecks that may be impacting your VR experience. Adjust settings accordingly to mitigate these bottlenecks.
Cost/Value Analysis: Performance Per Dollar
This build delivers exceptional value for the performance, keeping in mind the long-term investment of the dedicated sim-racing enthusiast. It offers a significant performance leap over pre-built gaming PCs in the same price range, while also providing the flexibility to customize and upgrade components in the future.
Alternatives: RTX 3080 or Ryzen 7 7700X?
If your budget allows, consider upgrading to an RTX 3080 or a Ryzen 7 7700X for tangible improvements in performance and future-proofing. However, the RTX 3070 and Ryzen 5 7600X strike a very compelling balance between price and performance, delivering an outstanding VR experience at our target specifications.
Tips and Pitfalls: Avoiding Common Mistakes
- Upgrade Paths: Consider upgrading the GPU to a higher-end model in the future (RTX 4070 or higher) for enhanced performance in newer titles. The CPU can also be easily upgraded within the AM5 platform as newer generations are released.
- Compatibility Notes: Always verify that the CPU cooler is explicitly compatible with the AM5 socket. Consult the motherboard's QVL (Qualified Vendor List) to ensure guaranteed compatibility with your chosen RAM modules. When designing your DIY panel, double-check that the USB controller board is compatible with Windows and can handle the total number of inputs you require.
- Pitfalls to Avoid: Never skimp on the PSU. A reliable power supply is essential for stable, consistent performance and protecting your investment in high-end components. Always prioritize proper cable management to ensure optimal airflow within the case, preventing overheating and potential performance throttling. For the DIY panel, carefully plan your layout and ensure ample clearance for all wiring to avoid shorts or connectivity issues.
Conclusion: Your VR Sim Racing Journey Begins
With this guide, you're well-equipped to build a DIY VR sim racing rig that delivers unparalleled immersion and competitive performance in Assetto Corsa Competizione, iRacing, and F1 23. So, gather your components, prepare your workspace, and get ready to experience the thrill of virtual racing like never before. Happy racing!
Check out XenGamer.com's sim racing peripherals section for more recommendations!