Build the Ultimate LAN Party Beast: A Portable Mini-ITX Gaming PC Ready to dominate your next LAN party?

Ready to dominate your next LAN party? This guide walks you through building a portable gaming PC optimized for competitive FPS titles like Valorant, Apex Legends, and Counter-Strike 2. We'll focus on achieving consistently high frame rates (144fps+) at 1080p resolution in a compact and easily transportable Mini-ITX form factor. If you're an experienced PC builder looking for a new project, this Mini-ITX gaming PC build is for you. We'll cover component selection, overclocking, and even LAN party etiquette to ensure you're fully prepared to frag out. Let's build the ultimate LAN party PC!
Core Components: Powering Your Portable Battlestation
Choosing the right components is crucial for a high-performance Mini-ITX build. Space is limited, so compatibility and efficiency are key. Here's a breakdown of the core components we recommend for this build:
CPU: Intel Core i5-13600K - The Sweet Spot for FPS Domination
The Intel Core i5-13600K is an excellent choice for this high FPS Mini-ITX build because of its exceptional single-core performance. FPS titles are often more reliant on single-core speed than multi-core performance, making the 13600K a perfect fit. It also offers overclocking capabilities, allowing you to squeeze out even more performance. With a modest air cooler like the Noctua NH-L9i-17xx, you can achieve a stable overclock to around 5.1-5.2 GHz on the P-cores. To do this, enter your motherboard BIOS, navigate to the overclocking settings (usually under "Advanced" or "OC Tweaker"), and manually adjust the CPU multiplier and core voltage. Start by increasing the multiplier by small increments (e.g., 0.1 GHz) and testing stability with a stress test like Prime95. Monitor CPU temperatures closely and adjust the voltage accordingly to maintain safe operating temperatures (below 90°C).
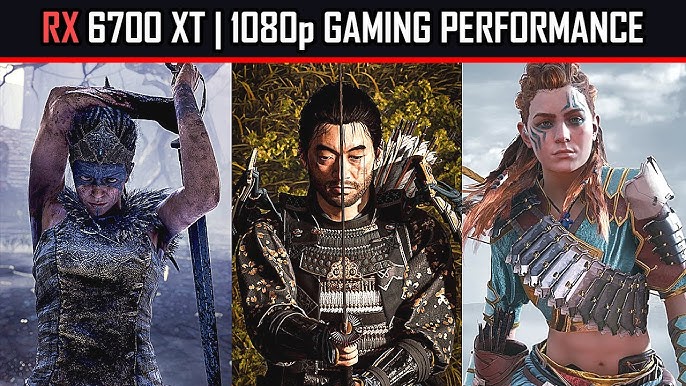
GPU: AMD Radeon RX 6700 XT - 1080p Performance King
The AMD Radeon RX 6700 XT strikes a perfect balance between performance and value for 1080p high refresh rate gaming. While newer GPUs like the RX 7700 XT or RTX 4060 offer slightly improved performance, the RX 6700 XT is often available at a more attractive price point, making it a smart choice for a budget-conscious build. Plus, it reliably delivers the high FPS needed in games like Valorant and Counter-Strike 2. It's the best budget Mini-ITX gaming PC graphics card for the performance.
RAM: 32GB (2x16GB) DDR5 5200MHz CL36 - Speed and Compatibility
32GB of DDR5 RAM ensures smooth multitasking and ample headroom for gaming and other applications. Choose a kit with a speed of 5200MHz and a CL36 latency for optimal performance. More importantly, select a kit with a low profile to avoid clearance issues with the CPU cooler inside the compact NR200P case.
Motherboard: ASRock Z690M-ITX/ax - The Heart of Your Build
The ASRock Z690M-ITX/ax is an excellent Mini-ITX motherboard for several reasons:
- VRM Quality: Its robust VRM (Voltage Regulator Module) ensures stable power delivery to the CPU, even when overclocking.
- Connectivity: It features Wi-Fi 6E for fast wireless connectivity at LAN parties, plenty of USB ports for peripherals, and multiple M.2 slots for fast storage.
- BIOS Features: The BIOS is user-friendly and provides comprehensive overclocking options, allowing you to fine-tune your CPU's performance.
Storage: 1TB NVMe PCIe 4.0 SSD (Samsung 980 Pro) - Lightning-Fast Loading
A 1TB NVMe PCIe 4.0 SSD like the Samsung 980 Pro is essential for quick game loading times and overall system responsiveness. The speed of the drive will significantly reduce load times in Valorant, Apex Legends, and Counter-Strike 2.
PSU: Corsair SF750 750W 80+ Platinum SFX - Compact Powerhouse
A high-quality, compact PSU is crucial for a Mini-ITX build. The Corsair SF750 is an excellent choice due to its SFX form factor, which saves space, and its 80+ Platinum efficiency rating, which ensures minimal power waste and heat generation.
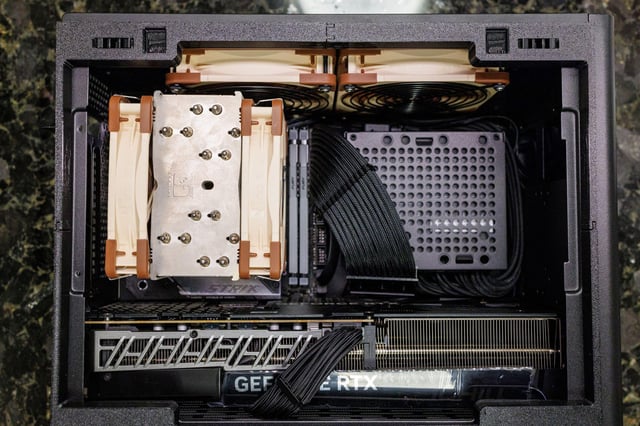
Case: Cooler Master NR200P - The King of Mini-ITX

The Cooler Master NR200P is arguably the best Mini-ITX case for gaming. Its features include:
- Compact Size: It's incredibly small, making it easy to transport.
- Excellent Airflow: Despite its size, it offers excellent airflow, allowing you to keep your components cool even under heavy load.
- Modularity: It supports various cooler configurations and GPU sizes.
- Included Panels: It comes with both tempered glass and mesh side panels, allowing you to choose between aesthetics and optimal airflow.
- Cable Management: Cable management can be challenging in a Mini-ITX case. Route cables behind the motherboard tray and use zip ties to keep them organized. The NR200P provides enough space to effectively manage your cables, but attention to detail is key.
Optional Add-ons: Enhancing Your LAN Party Experience
Cooling: Noctua NH-L9i-17xx - Low-Profile Cooling Champion
The Noctua NH-L9i-17xx is an ideal low-profile cooler for the NR200P and the i5-13600K. It provides adequate cooling performance while fitting comfortably within the limited space of the case. While it's not designed for extreme overclocking, it's sufficient for a modest overclock, keeping noise levels low.
Peripherals: The Essentials for Competitive Gaming
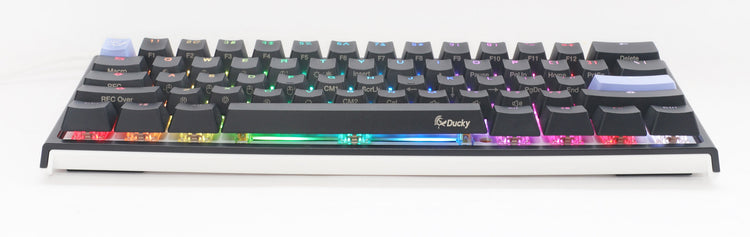
- Keyboard: Ducky One 2 Mini - A compact 60% mechanical keyboard with Cherry MX Red switches provides a responsive and space-saving input solution.
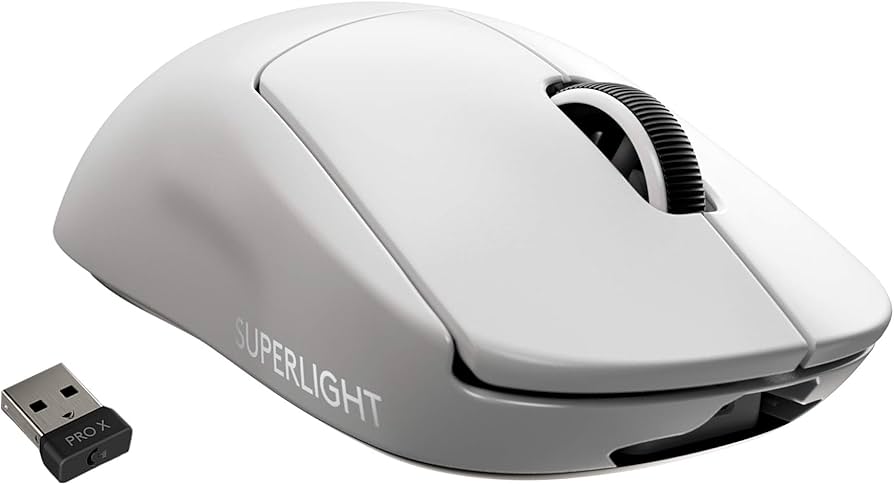
- Mouse: Logitech G Pro X Superlight - This lightweight wireless gaming mouse offers minimal input lag and excellent tracking, crucial for competitive FPS gaming.
- Headset: HyperX Cloud Alpha - The closed-back design of the HyperX Cloud Alpha provides excellent noise isolation at LAN parties, allowing you to focus on the game.
Monitor: ASUS ROG Strix XG17AHP - Portable High Refresh Rate Gaming
The ASUS ROG Strix XG17AHP is a portable 17.3-inch 240Hz gaming monitor with a built-in battery. Its advantages for LAN party setups are clear:
- Portability: Easy to transport and set up.
- High Refresh Rate: Delivers a smooth and responsive gaming experience.
- Built-in Battery: Allows you to game without being tethered to a power outlet (for a limited time).
Accessories: The Finishing Touches
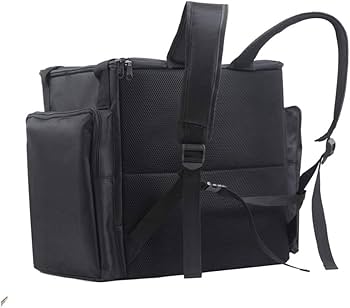
- Carrying Case: Invest in a durable carrying case specifically designed for Mini-ITX PCs, such as a Pelican case or a custom-built solution, to protect your investment during transport.
- USB Hub: A compact USB hub can be invaluable for connecting multiple peripherals.
- Ethernet Cable: Carry a short Ethernet cable to ensure a stable wired connection at the LAN party.
- Surge Protector/Power Strip: Protect your valuable components from power surges with a travel-sized surge protector/power strip.
Performance Expectations: Dominating the Leaderboards
With this build, you can expect excellent performance in Valorant, Apex Legends, and Counter-Strike 2 at 1080p with high settings. Expect average FPS above 200 in Valorant and Counter-Strike 2, and over 144 FPS in Apex Legends.
- Valorant: Average FPS: 250+, 1% Lows: 200+
- Apex Legends: Average FPS: 160+, 1% Lows: 120+
- Counter-Strike 2: Average FPS: 280+, 1% Lows: 220+
These numbers are based on benchmarks from reputable sources like Gamers Nexus and Hardware Unboxed. Low latency and high refresh rates are crucial for competitive gaming, and this build delivers on both fronts.
Cost/Value Analysis: Bang for Your Buck
Here's a rough estimate of the cost breakdown for this build:
- CPU: Intel Core i5-13600K: $300
- GPU: AMD Radeon RX 6700 XT: $350
- RAM: 32GB DDR5 5200MHz CL36: $120
- Motherboard: ASRock Z690M-ITX/ax: $200
- Storage: 1TB NVMe PCIe 4.0 SSD: $80
- PSU: Corsair SF750 750W 80+ Platinum SFX: $180
- Case: Cooler Master NR200P: $100
- Cooler: Noctua NH-L9i-17xx: $50
Total Build Cost: Approximately $1380
This price is justified by the high performance in the target games and the portability of the system. Pre-built gaming PCs in the same price range often compromise on component quality or portability.
Upgrade Paths: Future-Proofing Your Rig
- GPU: Upgrading the GPU to an RX 6800 XT or RTX 3070 would provide a noticeable performance boost, especially at higher resolutions.
- Storage: Adding a second NVMe SSD or a larger capacity drive would provide more storage space for games and other files.
Tips, Compatibility Notes, and Pitfalls to Avoid: A Smooth Building Experience
- Compatibility Notes: Always check component compatibility, especially RAM clearance with the CPU cooler and PSU wattage requirements. Use a website like PCPartPicker to verify compatibility.
- Pitfalls to Avoid: Common mistakes when building a Mini-ITX PC include inadequate cooling, poor cable management, and using incompatible components.
- Thermal Throttling: This can be a major issue in small form factor builds. Make sure to monitor temps and stress test your build after completion to ensure stability under sustained loads. If you experience thermal throttling, consider upgrading your CPU cooler or adding case fans.
LAN Party Etiquette and Preparation: Be a Good Gamer

LAN parties are a blast, but it's important to be a respectful gamer. Here's some LAN party etiquette:
- Arrive prepared with all necessary cables (power, Ethernet, video).
- Use a surge protector/power strip to protect your equipment.
- Keep your gaming space tidy and organized.
- Be respectful of other gamers.
- Carry a bootable USB drive with diagnostic tools in case of technical issues.
- Noise Levels: Remember that you might be in close proximity to other gamers. Keep your keyboard clicks and headset volume to a reasonable level.
- Respect the Space: Clean up your area before you leave and be mindful of shared resources like power outlets.
Building Your Mini-ITX Masterpiece: Step-by-Step
While a detailed step-by-step build guide is beyond the scope of this article, here's a general overview of the process:
- Prepare the Case: Remove any unnecessary panels and prepare the case for component installation.
- Install the CPU: Carefully install the CPU onto the motherboard, ensuring it's properly seated.
- Install the CPU Cooler: Install the CPU cooler, making sure it's securely mounted and making good contact with the CPU.
- Install the RAM: Install the RAM modules into the appropriate slots on the motherboard.
- Install the SSD: Install the NVMe SSD into the M.2 slot on the motherboard.
- Mount the Motherboard: Carefully mount the motherboard into the case.
- Install the GPU: Install the GPU into the PCIe slot.
- Install the PSU: Install the PSU into its designated location in the case.
- Connect the Cables: Connect all necessary cables from the PSU to the motherboard, GPU, and storage devices.
- Cable Management: Neatly route and manage the cables to ensure good airflow and a clean appearance.
- Test the System: Power on the system and test all components to ensure they are working properly.
- Install the Operating System: Install your operating system and drivers.
Remember to consult your component manuals for specific installation instructions.
The Complete Portable Setup: Ready for Action
With your Mini-ITX gaming PC built, peripherals packed, and etiquette guidelines in mind, you're ready to take on any LAN party. This compact gaming PC for travel is a testament to what can be achieved in a small form factor.
Final Thoughts: Embrace the Mini-ITX Revolution
Building a portable gaming PC is a rewarding experience that allows you to take your gaming passion wherever you go. The Mini-ITX form factor offers a unique blend of performance and portability, making it an ideal choice for competitive gamers who frequent LAN parties. So, gather your components, follow this guide, and prepare to dominate the competition! Looking for more PC building tips or hardware reviews? Explore the rest of XenGamer.com!